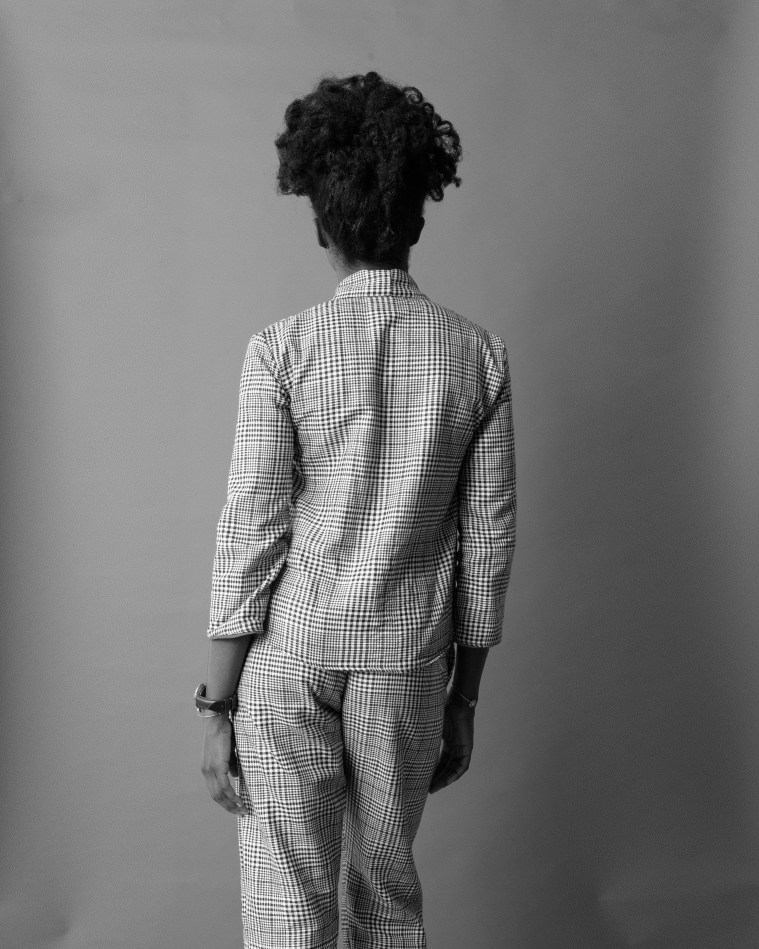
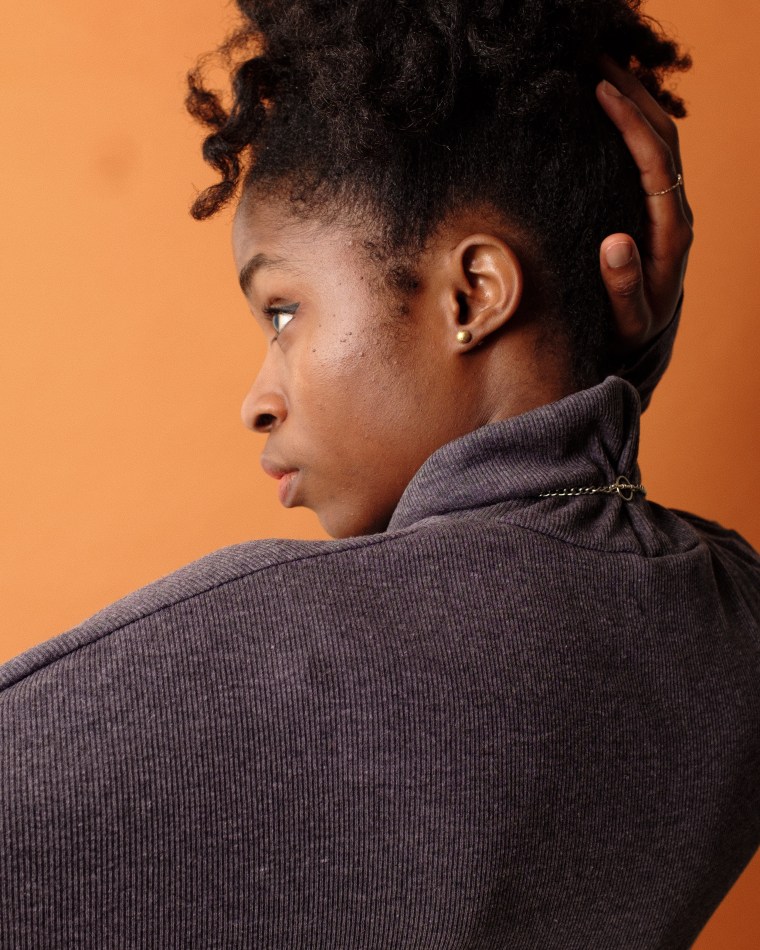
Turtleneck dress with raglan sleeves
Hey hey!
This week I’m serving up some loose fitting, ideal for layering, ultra-chic realness. At the start of winter there were rumors about how this would be a brutal winter but save a few snowy and chilly days it’s really not been so bad. Word on the street though is that February is going to be a frosty one so I’m not getting too comfortable. Now because I love you all so dearly, here’s a piece that is ideal for layering but would still have you feeling like a bare fox this winter 😉

I used about 1.5 yards of fabric but feel free to opt for 2 yards for added volume. I used a top that I own in a similar style to cut out the top half and a dress that hits right at my knee to cut out the full length of the dress. I decided to make the back a little longer so I extended my curve a bit, nonetheless it was a relatively simple cut out. Please let me know in the comments if you would like to see visuals for how I cut this out.


The turtle neck wasn’t too hard to execute either. My fabric has quite a bit of stretch so I could have gotten away with making this a little tighter but I like the loose fit. When attaching a turtle neck, treat it like you would a waistband or cuffs

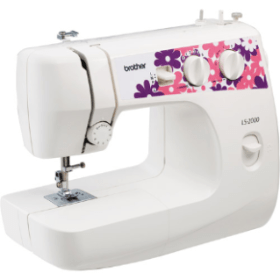
One more thing before I forget, I was asked what kind of sewing machine I use so I have a picture right here, It’s pretty basic, straight stitching and zig zag. Offers varying stitch widths as well. Specifically its the Brother LS-2000 if you’re looking for a beginner sewing machine. It has lasted me quite sometime and I really haven’t had any issues with it that weren’t self inflicted so I would definitely recommend 🙂
Until next week folks, I’ll leave you with a thought that has been heavy on my mind these past few days: “Don’t just talk about it, be about it”. I have felt this way specifically regarding social justice but it applies to so many things. Hoping we can all challenge ourselves to do more than just talk about the changes we want.
Pictures by Willyverse