K is for Kimono

or  Kermit, have it as you would like :).

Kimono-begin

Hey peepullss

So at long last I own a kimono! I’ve been stalking this little wardrobe addition since last summer. Brandy Melville was killing me with their floral kimonos last summer. I’m sure I went to the store about 4 times just to check on “Alexis”. Anyhow I decided to make one of my own since we’re right on the cusp of summer. Despite the chilly weather in Toronto I continue to believe its spring. If I believe it then its true right?

Kimono-Begin

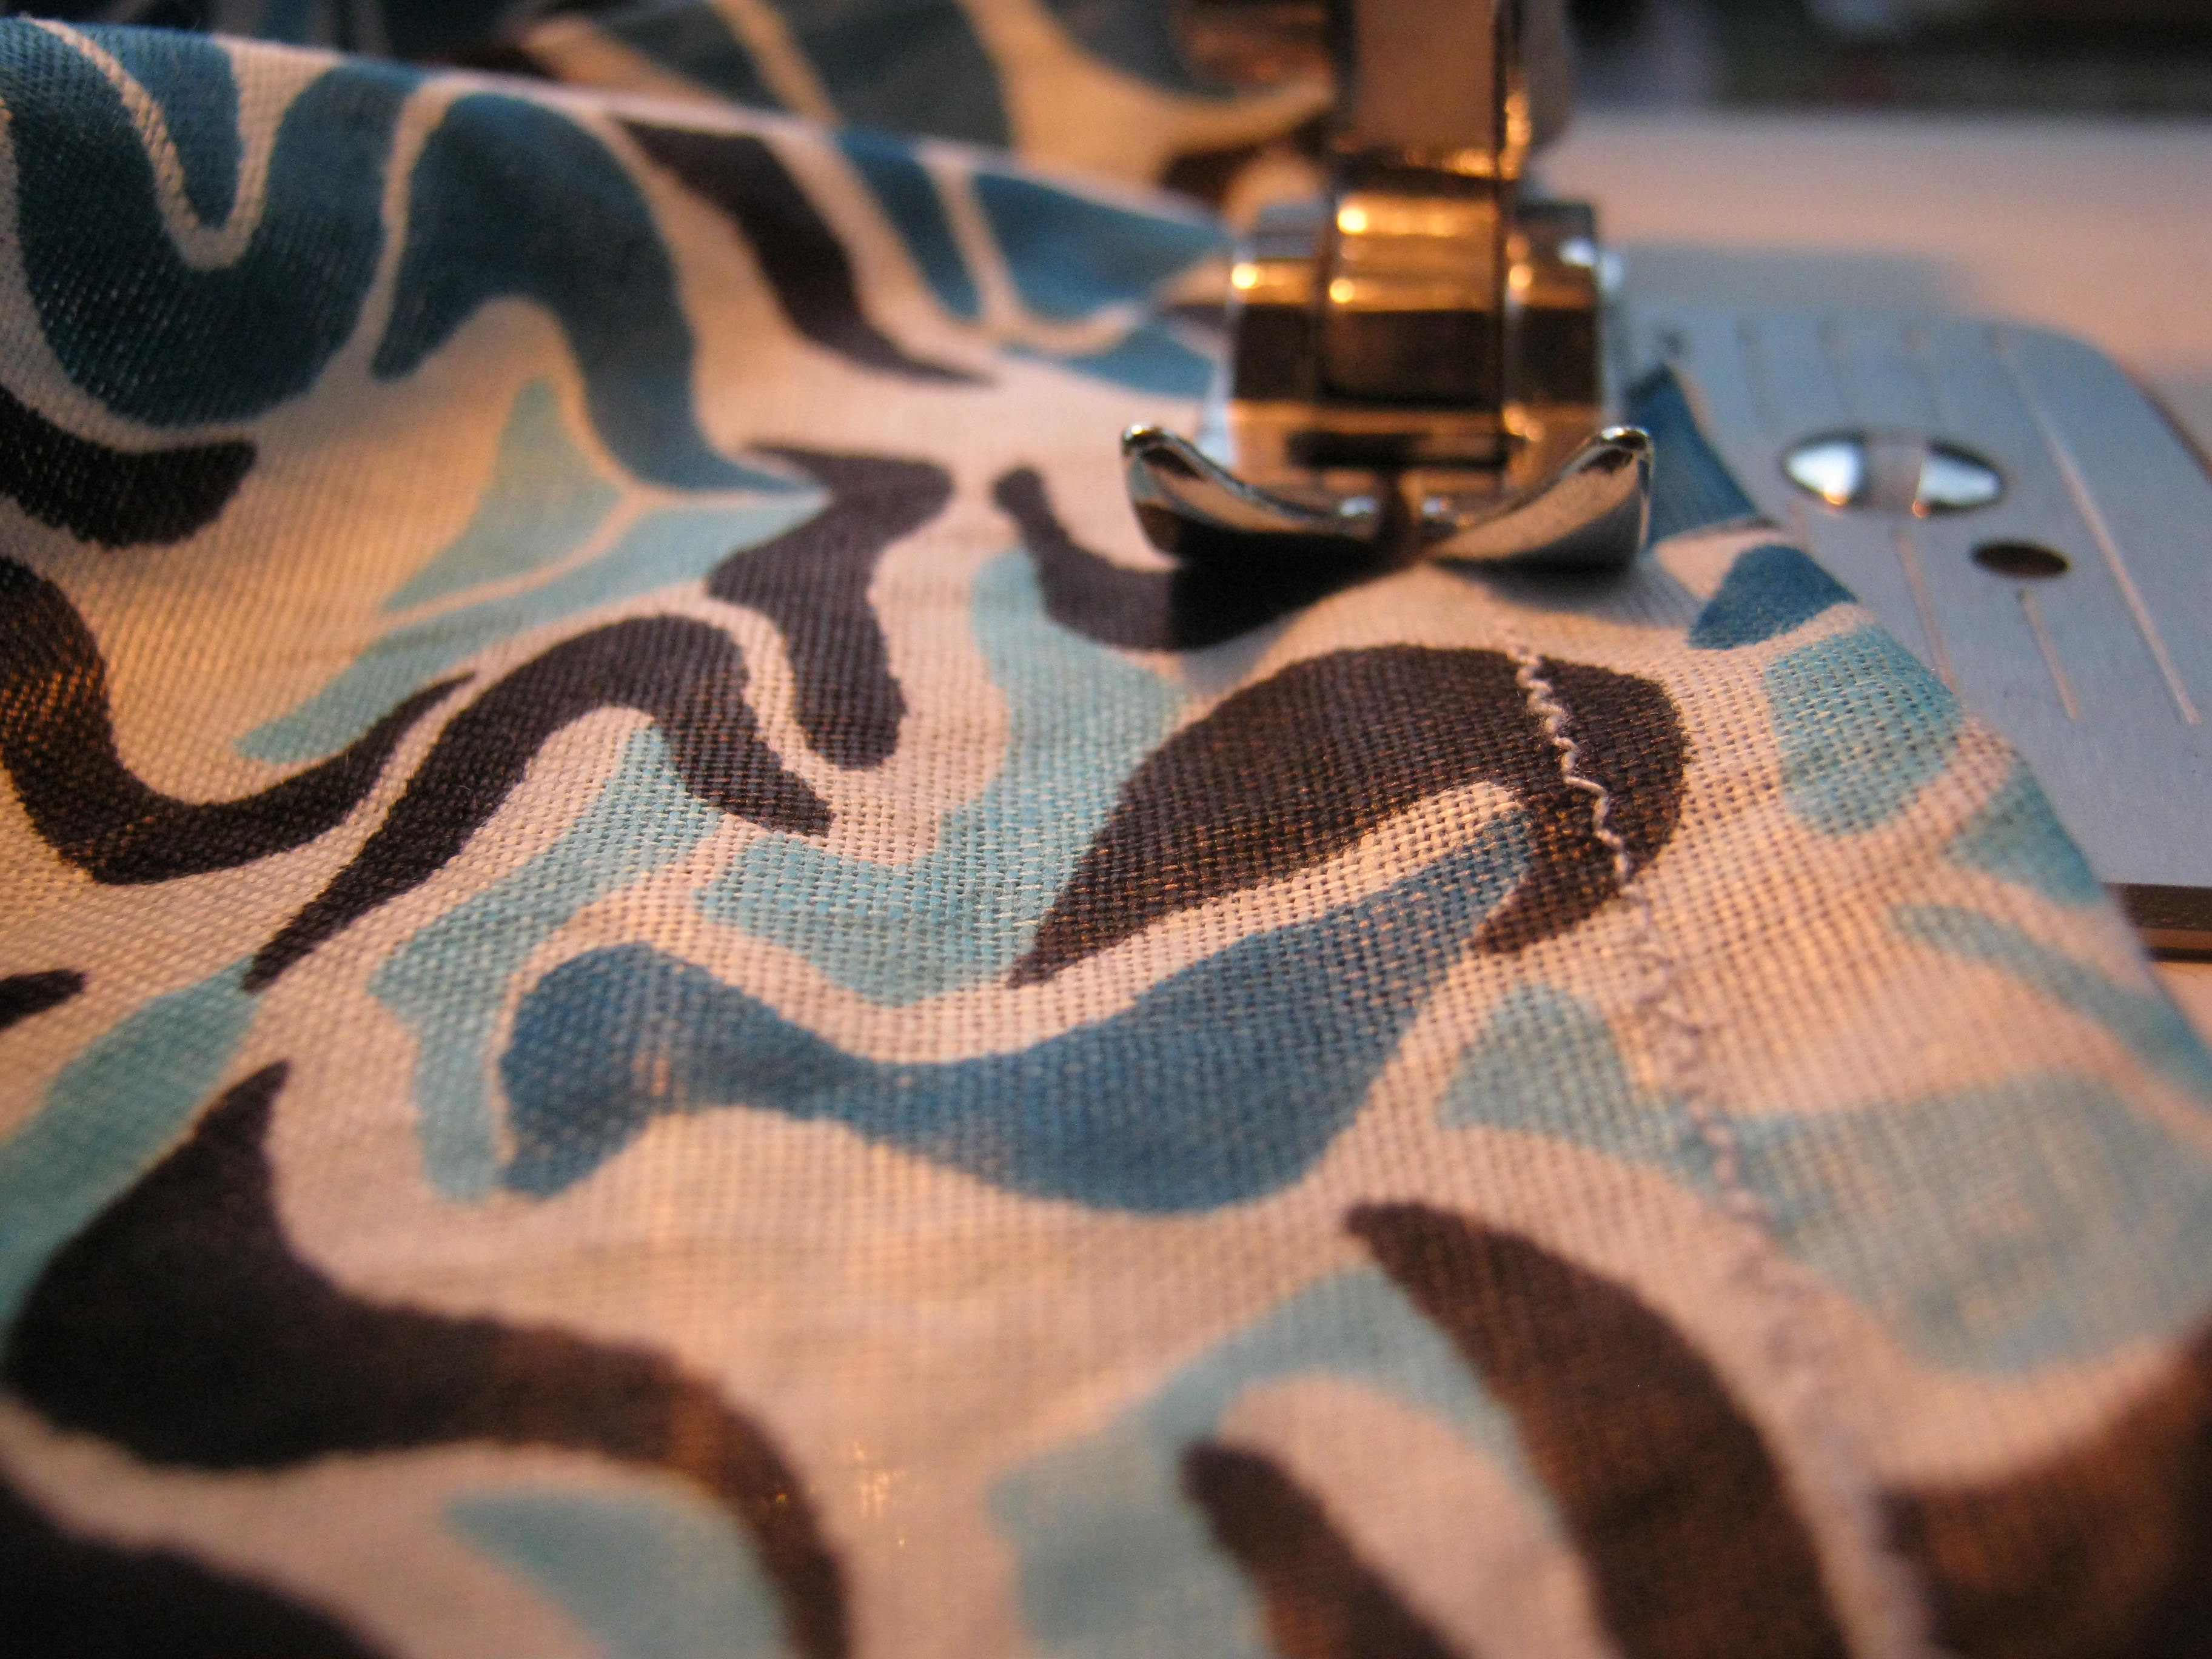
Making this kimono was relatively easy. The most challenging part was working with chiffon which is an eternal pain as I’ve mentioned before but I shall overcome! Another issue was that I had to make do without my scissors. I recently moved so I don’t quite have all my tools in one place but my exacto knife did the very best it could . Other than my cutting issues and the slippery fabric this was a 3/10 for difficulty.

Kimono: Begin

I love how flowy and light this piece is. It won’t keep you warm in 7 degree weather but it would be perfect for those 16 degree days when you don’t want anything too heavy. Plus taking pictures for this post was so much fun! I felt all downtown (okay that doesn’t make sense but I know what I mean) I think my brother did an amazing job making me look super cool! Begin Kimono

I’m looking into making a couple more kimonos for sale but I would like to gauge interest first. If you would like to purchase one either comment below or send an email to maks_u(at)hotmail.co.uk with “kimono” in the title. Depending on the responses I get, I’d let you all know whether or not sales would be happening.

Kimono--Begin


pictures by Willyverse: http://willyverse.tumblr.com/

The trouble with perfect

cropped-photo-21.jpg

Hello, hello!

After months of essays, tests, meetings and the sort, third year is over. At the end of second year I decided to take stock and see what I had learned. I learned in first year that sometimes its okay to let go, in second year I learned that just because you let go of a plan doesn’t mean you have to let go of a dream. After third year I’ve learned that just because you’re used to something doesn’t mean you don’t need to work at it anymore. If anything I learned that the being good at something is simply an invitation to be better

Speaking to my sister last night, she told me something that I thought summed up my “discoveries” quite nicely; “life happens”. Its really important to have a plan and know where you want to be and where you’re heading at any point in time, but it is just as important to remember that just because you have a plan doesn’t mean that’s how things are going to go. Sometimes even the most perfect plans are ruined by the smallest, most mundane things and what do you do? You deal with it.

Often times we become so wrapped up in the perfection of our plans that we’re crushed when things don’t go as we hoped they would. In my experience, life “happening” is usually just the thing you need to help you find your way. Its kinda the way things tend to go; you never try you never know, you never fail, you never grow. (really wasn’t trying to rhyme there but hey!). Anyhow I’m grateful for another year with its new experiences and all the things I learned so far. I’m looking forward to my fourth year and all the novelties it promises to bring.

What are some of your most recent life discoveries?

The trip to midi

Hey hey!

It’s been a little while since I posted about my sewing so here we go :). At the start of the year, my cousin asked if I could upcycle a dress for her. (Upcycling is basically recycling old clothes). This particular dress was custom made for her but well…things didn’t quite turn out so great. It was challenging but exciting to remodel this skirt. I was quite pleased with the results. Made me want a midi-skirt for myself actually, I guess that will be a project for another day.

My main challenges with making this skirt were;

-fixing previous mistakes

-attaching the zipper (as usual)

-attaching the lining and *wait for it*

-pockets!!!

The lining was really only difficult because I wasn’t working from scratch, or maybe not. Either way it was more than just a little difficult to basically sew a skirt within a skirt. As this was my first time SUCCESSFULLY adding pockets to anything, I was pretty excited.

I would rate the difficulty of this project at a 6/10 if you’re making a skirt from a dress or a 4/10 if you’re starting from scratch (I would assume).

Ibegan-Trip to MidiBegin- Trip to midi

I started off by cutting off the top piece of the dress and cutting the bottom of the skirt to midi length then I hemmed it.

Trip to midi- BeginBegin-Midi Skirt

I opened up the sides of the skirt and added pockets. Finally, I took off the waistband, adjusted the size and reattached it to the skirt, being careful to maintain preexisting pleats.  While this seems fairly basic, it was rather time consuming.

IMG_0103IMG_0104

I feel it turned out pretty well all in all. Seeing her in this skirt made me really really want it though, 0_0. *skips off to sewing machine*


Midi Skirt- Ibegan