
Knapsack Tutorial
Hi Guys!
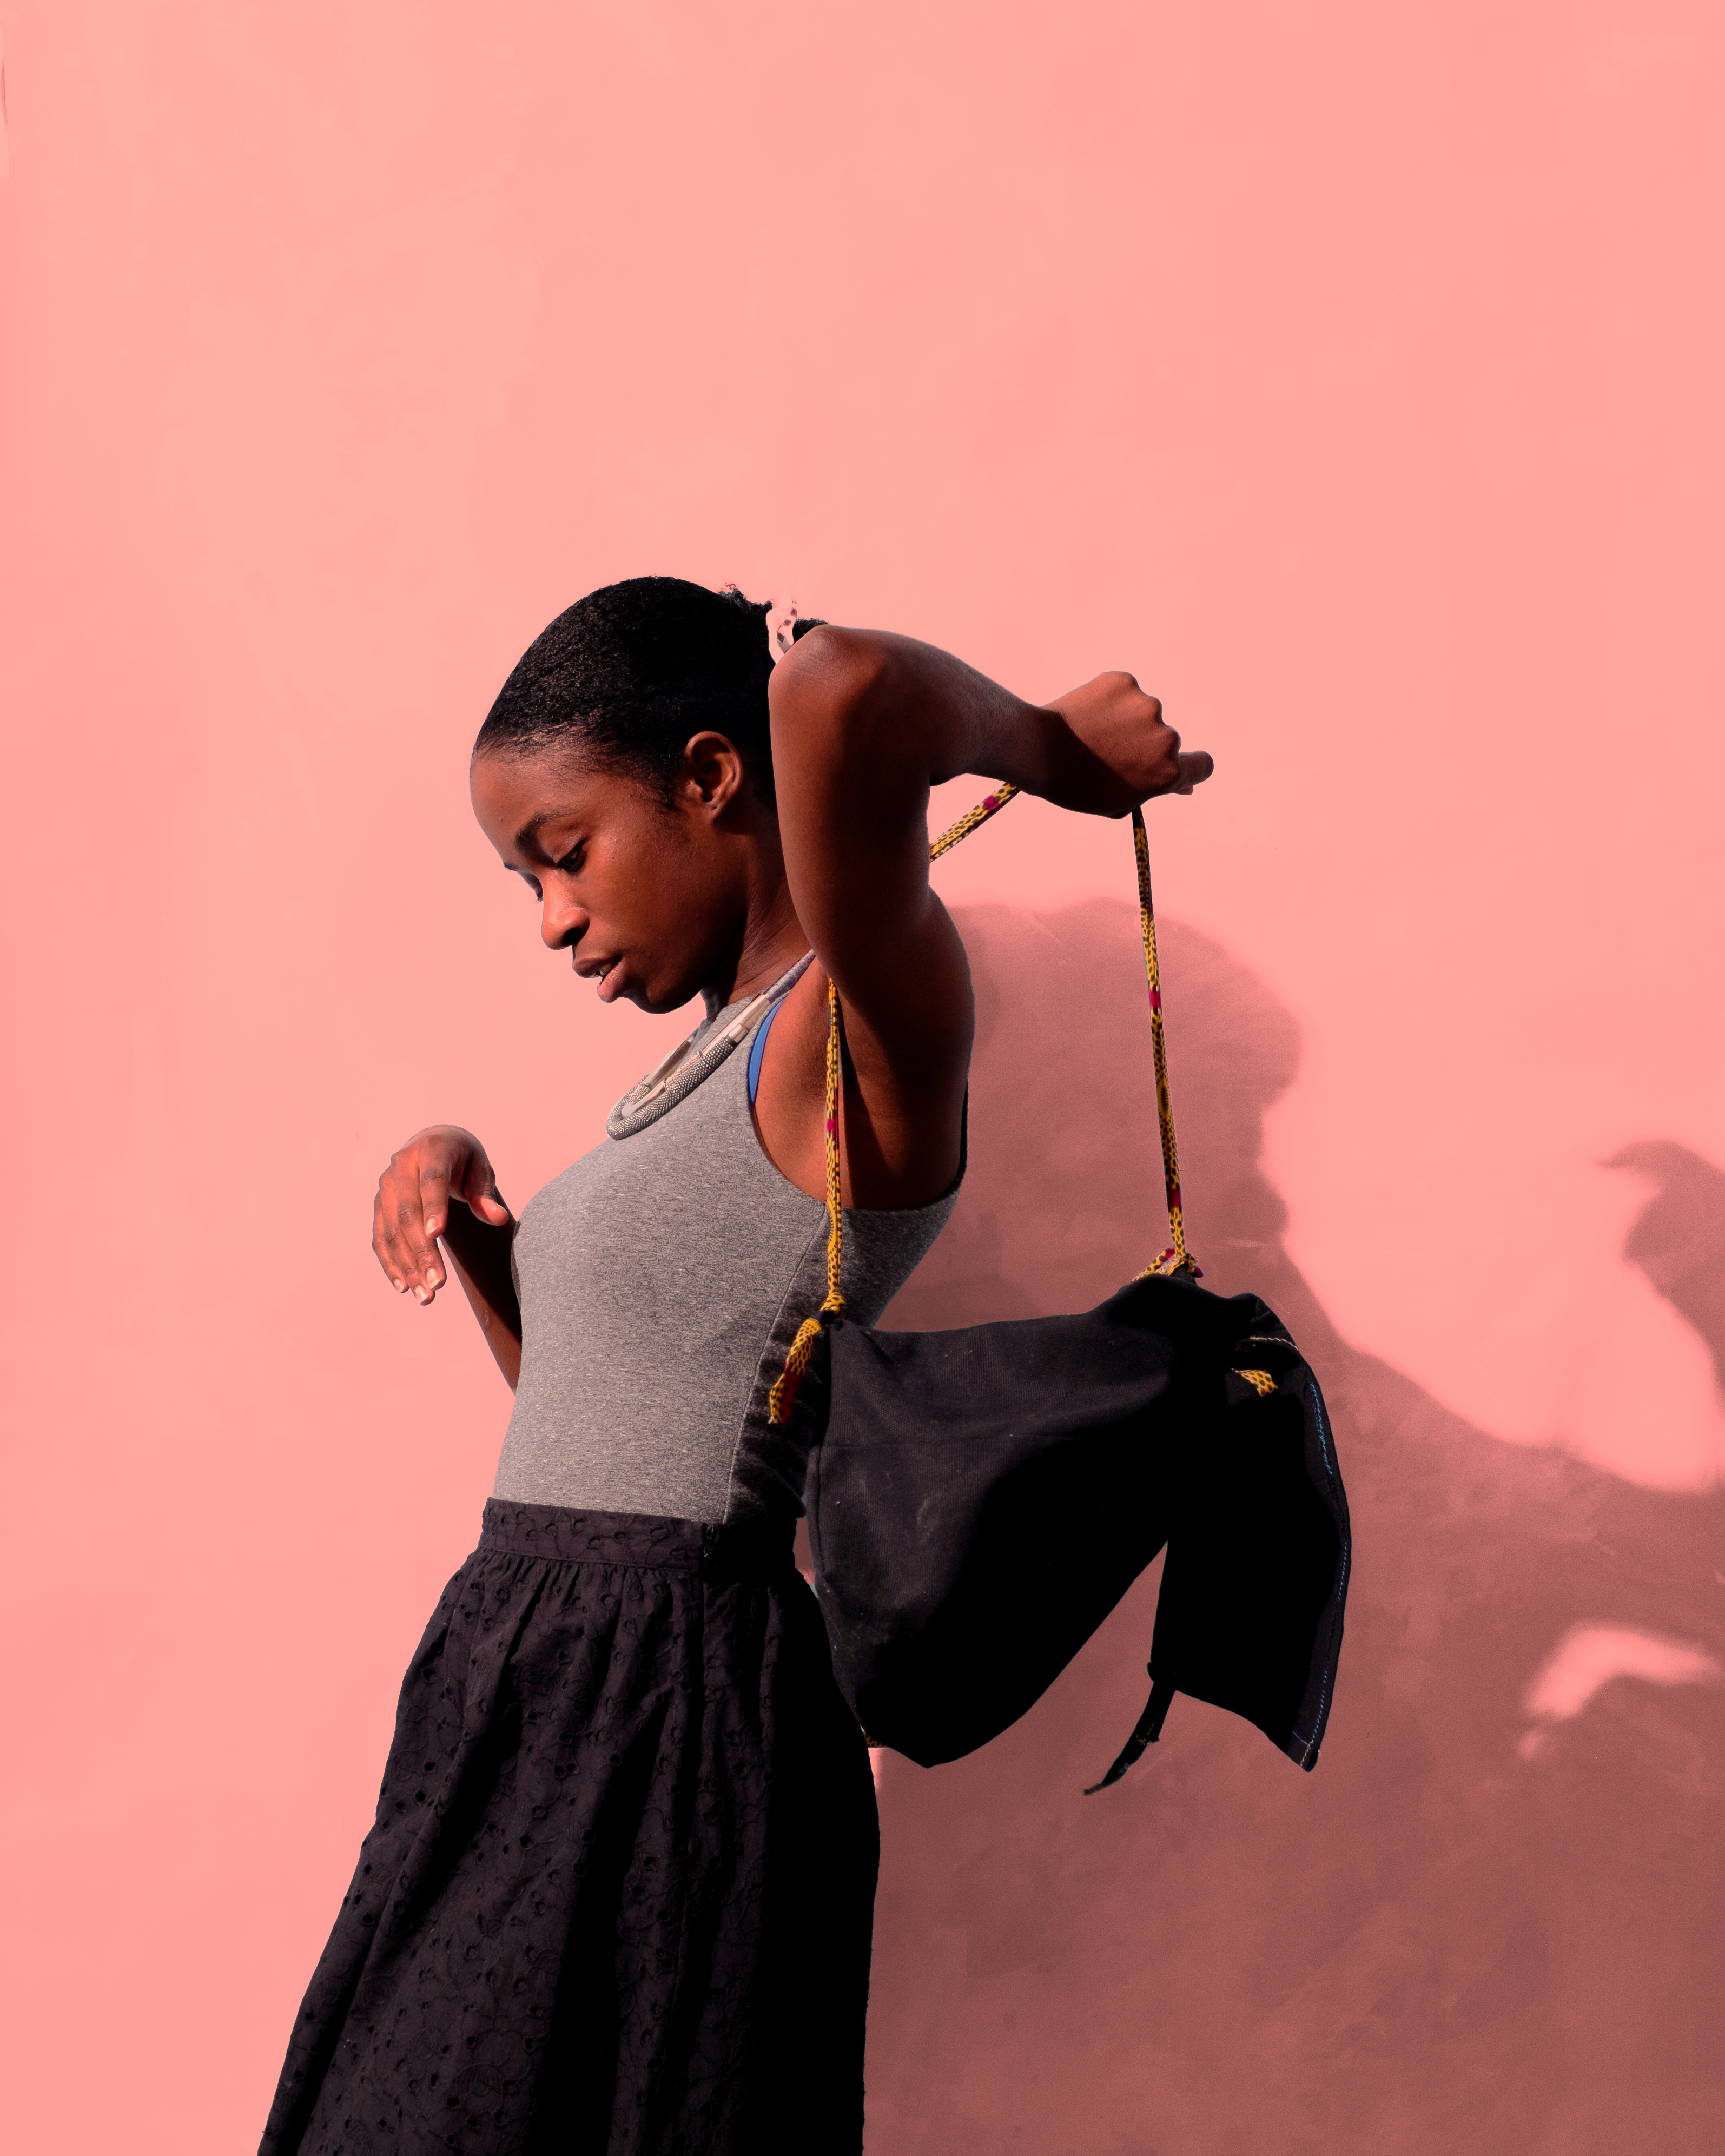
So I’m here today with something very practical and something I have used literally everyday since I made it! A *drumroll* Knapsack!!
The word knapsack takes me back to primary school and marching songs 🙂
“I love to go a-wandering…*mumbles words*…with my knapsack on my back! Valdereee, Valderaahh”
I have no idea what half those marching songs meant or even why we needed to march to our classes but they’re nostalgic all the same. Oh the days of juice boxes, boogers and chalkboards! 🙂

This bag however started out with my quest for a practical bag to take to work which evolved into me lusting for a bucket bag. A dozen Pinterest tutorials later and I was sure of what I wanted and how I wanted it to look. However as with most things I make, the idea changes once I actually start making.

I have drawn out what I cut to achieve this bag. Note that this image does not include a flap for closing as that is completely optional and just one of the things I added on the fly.

In terms of strap length and draw string length I would suggest going with your gut and doing what feels right. As long as it isn’t too short you should really be able to adjust it. I originally tried to punch holes in the fabric with some cheap hole puncher I picked up at the fabric store but that failed spectacularly so I just snipped little x’s in the fabric where I wanted my drawstring to go through.

Overall I would rate this project a 3/10 for difficulty 😀 it’s definitely a great beginner project and I have gotten a lot of use out of it already! I can’t wait to go everywhere with it this Summer.

One little thing went wrong the day after I made it though, The strap cut! (LOL). So that this doesn’t happen to you when you try it (because I know you’re going to) Sew a rectangle that fixes the strap to the bag and then sew an ‘x’ in the rectangle. This would keep your bag a lot more secure. OR you can sew on loops like I did and this would make your bag adjustable. It all depends on what you would like to do.
Oh and one last thing, I would like to believe that this bag can be made using fabric glue. I say this because the sewing involved is pretty minimal but don’t take my word for it. I would be happy to see if fabric glue holds up for this tutorial.
Until next time
Peace XO
Pictures by Willyverse

Very creative. Great job!
merci!!